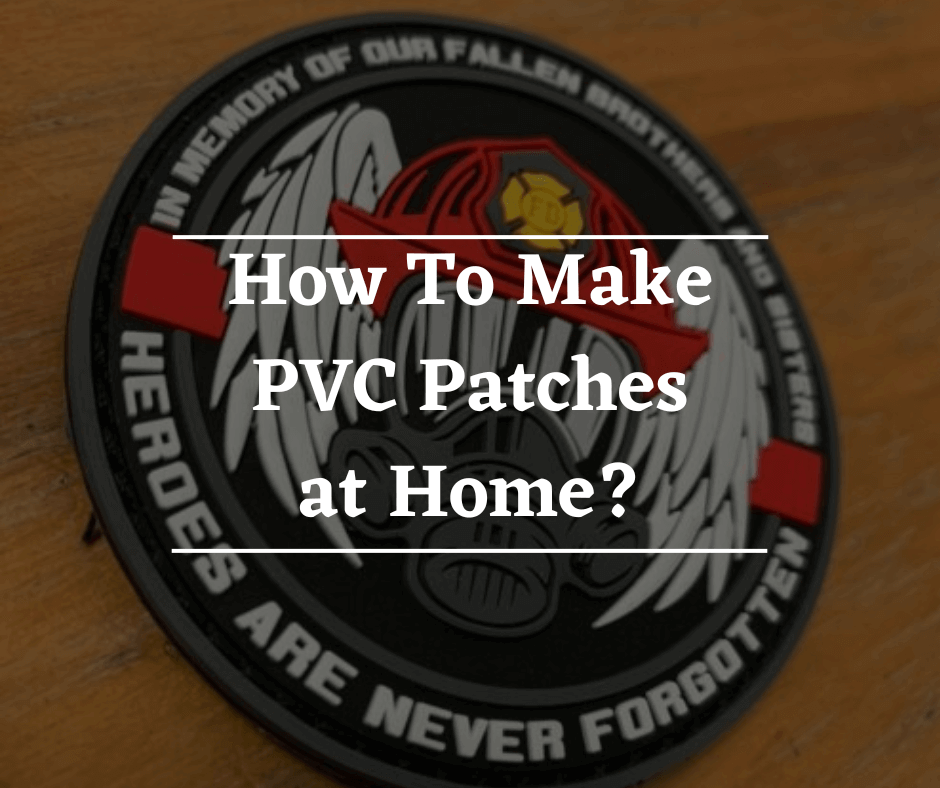
Make Your Own PVC Patches at Home

We all know that PVC patches are very trendy and stylish. And, making them at home is not as difficult as you think. You can make your PVC patches at home with just a few supplies and creativity.
It is quite fun and easy to show your support for your favorite team, club, or organization. Plus, you can customize them to match your style. For example, you can add rhinestones, beads, or other embellishments to make them more personal.
Whatever your reason for wanting to make PVC patches, below are easy instructions on how to make PVC patches at home.
First of all, let’s know…
What Is A PVC Patch?
A PVC patch is a small, often round piece of PVC material with adhesive on the back, used for affixing a design or logo to clothing or other surfaces. Custom PVC patches are commonly used by organizations and businesses as promotional items and can be found in a variety of colors and designs.
The material has a rubbery texture and can be carved into any design. A PVC patch you make yourself is comfortable, water resistant, and long-lasting. You may use it outside without worrying about it becoming damaged because of the weather since it is durable.
People also use these DIY PVC patches to customize their clothes and add a personal touch. Looking for how to make rubber patches? Let’s get started!
How To Make PVC Patches at Home?
Before moving further with the design process, we make sure to take into account the following factors.
1. 2D Or 3D
You first have to decide whether you want a 2D or 3D design. A 2D design will be thinner and more flexible, while a 3D design will be thicker and more rigid.
2. Size
The next thing you have to do is decide on the size of your patch. Patches can be any size, but most are between 2 and 4 inches.
3. Shape
The shape of your patch is also up to you. You can make it in any form, but the most common shapes are circles, squares, and rectangles.
4. Colors
Now you have to decide on the colors of your patch. You can use one color or multiple colors. If you use various colors, you have to decide on the order in which they will be used.
5. Backing with Adhesive
The backing will attach your patch to clothing or other materials. The most common type of backing is adhesive backing, which can be ironed on or sewn on.
6. Sew-on
If you want your patch sewn on, you will need to use a piece of fabric as the backing. The fabric can be any color, but it should be thin so that it doesn’t add bulk to your patch.
7. Velcro Stick-on
Some people also use Velcro to attach their patches. This is a good option if you want to be able to remove your patch easily. This type of backing can be ironed on or sewn on.
8. Magnetic Backing
This type of backing is rare, but it is possible to find. It is used the same way as adhesive backing but is less likely to damage clothing. The magnets are also strong enough to hold the patch in place even if it gets wet.
Now that you know the basics let’s get started on how to make your PVC patches.
Step 1: Designing your PVC patch
Before creating your PVC patch, you must clearly understand what it will look like.
As discussed earlier, there are different designs that you could choose from when designing your PVC patch. Therefore, there is no set design that you must follow, but try to think of something that will suit your design concept.
For instance, if you make a patch for an outfit you would like to wear, design it to complement the other clothes you are wearing.
There are numerous ways to create a PVC patch. For example, you can use stickers, vinyl decals, and transfer sheets, or if you have access to an inkjet printer, you can also print your designs on the PVC patch.
Step 2: Make a Metal Mold
After you have designed your PVC patch, the next step is to create a metal mold. This will be used to shape the plastic into the desired shape.
There are two ways to create a metal mold:
1) Use a CNC machine:
This is the most accurate way to create a mold. You will need to have a computer-aided design (CAD) file of your design, which will be fed into the CNC machine. The machine will then cut the mold out of a block of aluminum.
2) Use a hand-cut method:
This is a less accurate way to create a mold, but it can still be done. You will need a design template, which you will then use to hand-cut the mold out of a block of aluminum.
Step 3: Pouring Liquid PVC
When the mold is ready, the next step is to pour liquid PVC into it. You will need to pour the PVC slowly, so it does not splash and cause the mold to be uneven.
Didn’t get it? You can also use a syringe to control the flow of the PVC. Once the mold is full, set it aside and allow the PVC to harden. This will usually take a few hours. Also, don’t forget to clean up any excess PVC that may have dripped outside the mold.
Step 4: Apply the Backing
Before removing it from the mold, you must apply the backing to your PVC patch. The backing will give your patch strength and stability. Hence, you need to use the support after the PVC has hardened.
A hot glue gun will work best, but the double-sided tape will suffice if you don’t have one. The reason why the hot glue gun is better is that it will provide a stronger bond.
You can also use sew-on backing or iron-on backing. Many people prefer the iron-on backing because it is easier to use.
Once you have applied the backing, allow it to dry for a few hours before removing the patch from the mold.
Conclusion
PVC patches are a great way to show your personality and style. You can use them on clothes, bags, hats, and more. Creating your PVC patch is a fun and easy project that anyone can do. And nowadays, with the help of the internet, there is nothing you can’t do at home.
Still, some people do not want to bother with all the hassle as they can’t understand how to make PVC patches at home. They prefer hiring a professional to do the job. Do not worry. We can handle this stress for you. Just send us your design, and we will take care of the rest. Creating PVC patches is our specialty, and we will be happy to help you.
Frequently Asked Questions
What are PVC patches made of?
PVC patches are made of PVC, also known as polyvinyl chloride. PVC is a type of plastic that is soft and flexible. It is often used to make raincoats, shower curtains, and inflatable balls. PVC is also used to make patches because it can be molded into different shapes and designs.
How are PVC hat patches made?
PVC hat patches are made using a process called PVC injection molding. This process involves injecting molten PVC material into a mold in the shape of the desired design. The PVC material then hardens and takes on the shape of the mold, resulting in a detailed and precise replica of the original design.
Are PVC patches flexible?
Yes, PVC patches are flexible and can be bent or curved to fit the contours of your body. They are also durable and can withstand moderate amounts of wear and tear.
Can PVC patches be ironed on?
PVC patches can be ironed on, but it is not recommended. The heat from the iron can cause the PVC to warp and ruin the patch. If you must iron on a PVC patch, use a piece of cloth between the iron and the patch to protect it.
How do you use PVC patches?
PVC patches can be used for various purposes, including clothing or bag decoration and identification. PVC patches can be attached to clothing with adhesive backing, or they can be sewn on.


Hello Paul,
I am interested in playing around and making a few PVC patches for my Boy Scout troop. But am having trouble understanding specifically what product to buy to make the PVC material.
I appreciate the step by step method you outlined. I really think I can make a few but want to make sure I get the right product to mix the PVC and the right dye…
Could you give me any advice what to purchase to mix the PVC material and to color it?
Thanks so much!
Hello Wayne,
To make those PVC patches, here’s what you’ll need:
PVC Resin: Look for something good quality, like Kraton G.
Plasticizer: You can use DOP or DINP to keep your patches nice and flexible.
Coloring Agents: Check out PVC-compatible pigments or dyes, like Micronized PVC Color Concentrate.
Steps:
Mix about 60% PVC resin with 40% plasticizer.
Gradually add your color and mix it all together until it’s even.
Pour the mixture into molds and let them cure according to the product instructions.
You can find everything online or at local craft stores. Have fun making your patches! Let me know if you have any other questions!