

Do you have a favorite shirt or jacket full of patches and emblems? You know the type; perhaps it’s your favorite band’s logo or an outdoor company patch. Unfortunately, it’s often quite difficult to apply a patch without going through all sorts of struggles – like having everything slip off while attempting to iron it on.
But don’t despair — with the right tools and techniques, you can learn how to be a professional at applying patches quickly and easily! In this blog post, we’ll walk you through step-by-step instructions for how to iron a patch on a shirt like a pro so that it lasts for years — no matter what activity or event you’re preparing for! So keep reading if you want to know how to iron on patches on shirts.
Preparing the Shirt
Step 1: Clean and dry the shirt
Before doing anything else, ensure the surface is free of dirt and grime. This will help ensure your patch sticks properly and doesn’t start fraying at the edges. Use a lint roller to remove dust particles, then wash and dry it (or spot clean) before applying it.
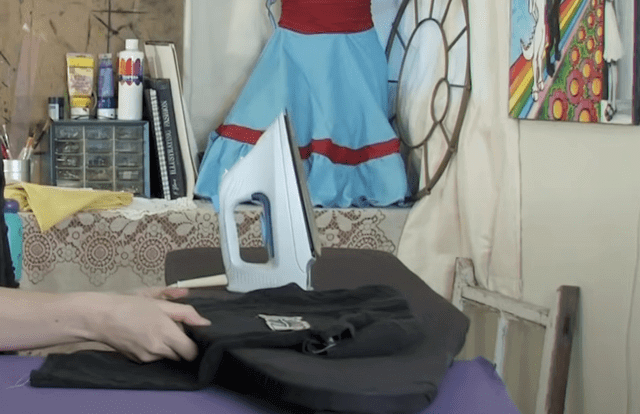
Step 2: Position the shirt on the ironing board
Once it is clean, place it on the board. Make sure the area is centered and secure so that it will not move when you begin the process of ironing a patch.
Step 3: Preheat the iron:
Set it to a medium-high setting and let it preheat for about 10 minutes. Make sure that there are no steam settings turned on, as this could affect the adhesiveness.
Applying the Patch
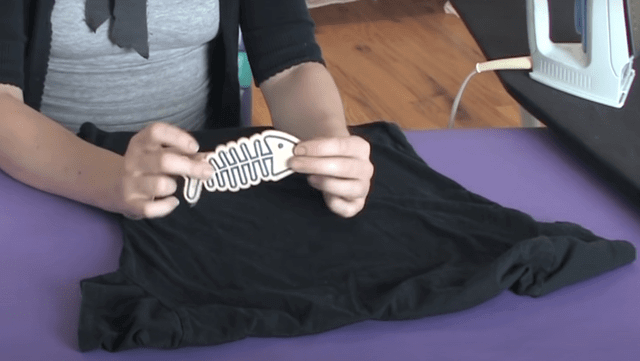
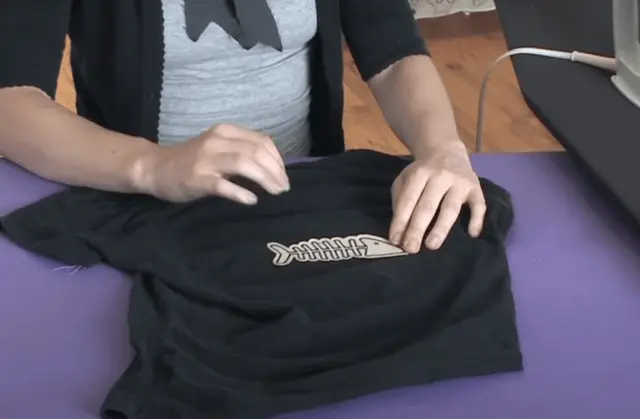
1: Place it on the iron on patch t-shirt
Carefully place it in its desired position. Ensure all edges are aligned and flat to lay properly on the surface.
2: Cover it with a pressing cloth
Using a pressing cloth (or a piece of cotton fabric) to protect it, gently place it on top. This will prevent any direct contact between the patch and the iron, which could damage or fray the edges of the fabric.
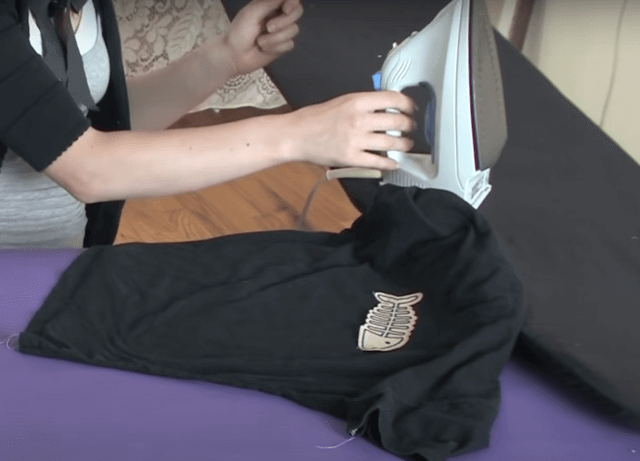
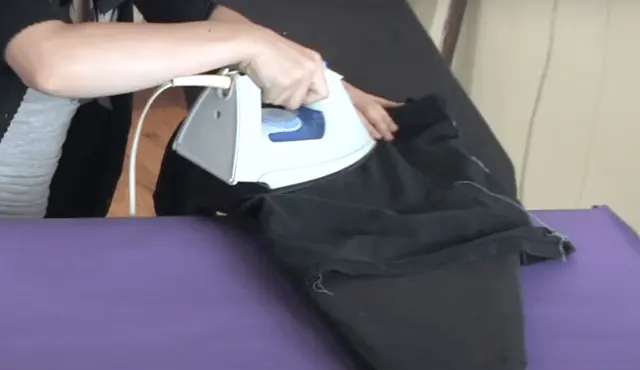
3: Press the iron onto it for 30 seconds
Press it firmly for 30 seconds with still on medium-high heat. Make sure to apply even pressure throughout the entire surface.
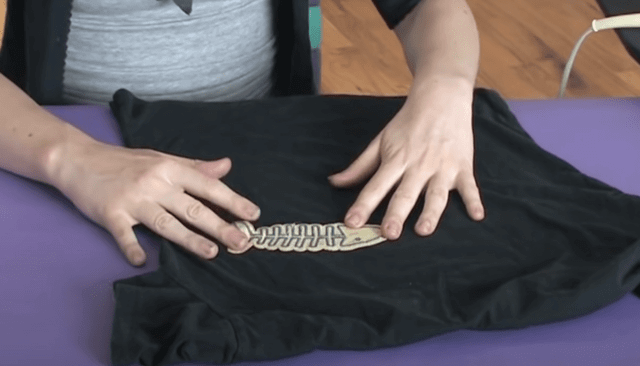
4: Check if it is securely in place
After 30 seconds, lift the pressing cloth and check if it is secure. If it’s still not sticking, repeat steps 3 and 4 until it is securely in place.
5: Repeat if necessary
Repeat the guideline above for each piece if you need to apply more than one.
Finishing Touches
If it has a border or decorative elements, go over them with the iron to ensure they are firmly in place by pressing for an additional 10-15 seconds.
Finally, turn it off and remove it from the surface. Let it cool for a few minutes before handling the fabric. If desired, you can also use a hot glue gun to secure it in place further. Often, this is a great way to add a little extra flair to your outfit.
Frequently Asked Questions
How do I know what temperature to set the iron for the fabric of my shirt?
The best temperature to set depends on the type of fabric it is made from. For instance, most cotton fabrics require a medium-high setting, while synthetic fabrics or those with delicate details may require a lower heat setting. Similarly, the iron on patch temperature for an iron on patches sweatshirt will be different. Refer to the fabric care label for instructions.
How to put a patch on a shirt without an iron?
If you don’t have an iron, there are still several ways to attach a patch without one. You can use fabric glue or even sewing to attach it. Sewing is preferred for more detailed patches, while fabric glue best suits larger, simpler designs.
How to iron a patch on a T-shirt?
Ironing a patch onto a T-shirt is similar to the instructions above. To start, position it on the shirt and preheat the iron. Then, cover it with a pressing cloth and press firmly for 30 seconds. Lift the cloth to check if it is secure, and repeat if necessary. Finally, finish off with a hot glue gun or additional pressing as desired.
How to iron a patch on a jersey?
Ironing a patch onto a jersey is similar to the process for T-shirts. First, ensure that the area is clean and place it on the ironing board. Preheat the iron to a medium-high setting and place the patch in its desired position. Cover it with a pressing cloth and press firmly for 30 seconds. Lift the cloth and check if it is secure, repeating as necessary. Finish by cooling the fabric off before handling it.
Conclusion
We hope this guide on how to iron a patch on a shirt like a pro was helpful. With this method, you’ll be able to apply them and emblems like a pro in no time. Don’t forget to press the edges if needed, and consider using a hot glue gun to secure it in place further. Finally, have fun rocking your new patch, and show off your style!
